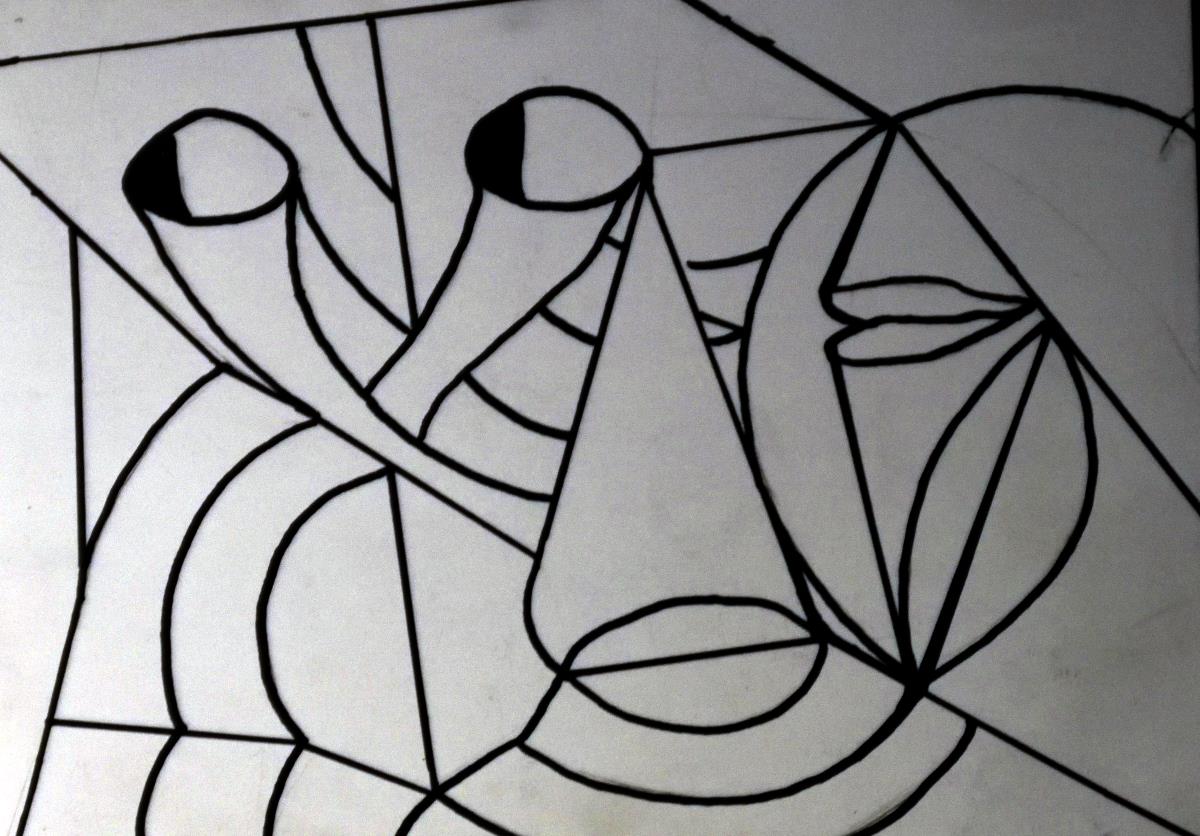
Initial Drawing
Pencil then ink on white paper (Sharpie) Free form using shapes and straight lines. The purpose is to create a thick line drawing with spaces contained within, and separated from each other by these lines.
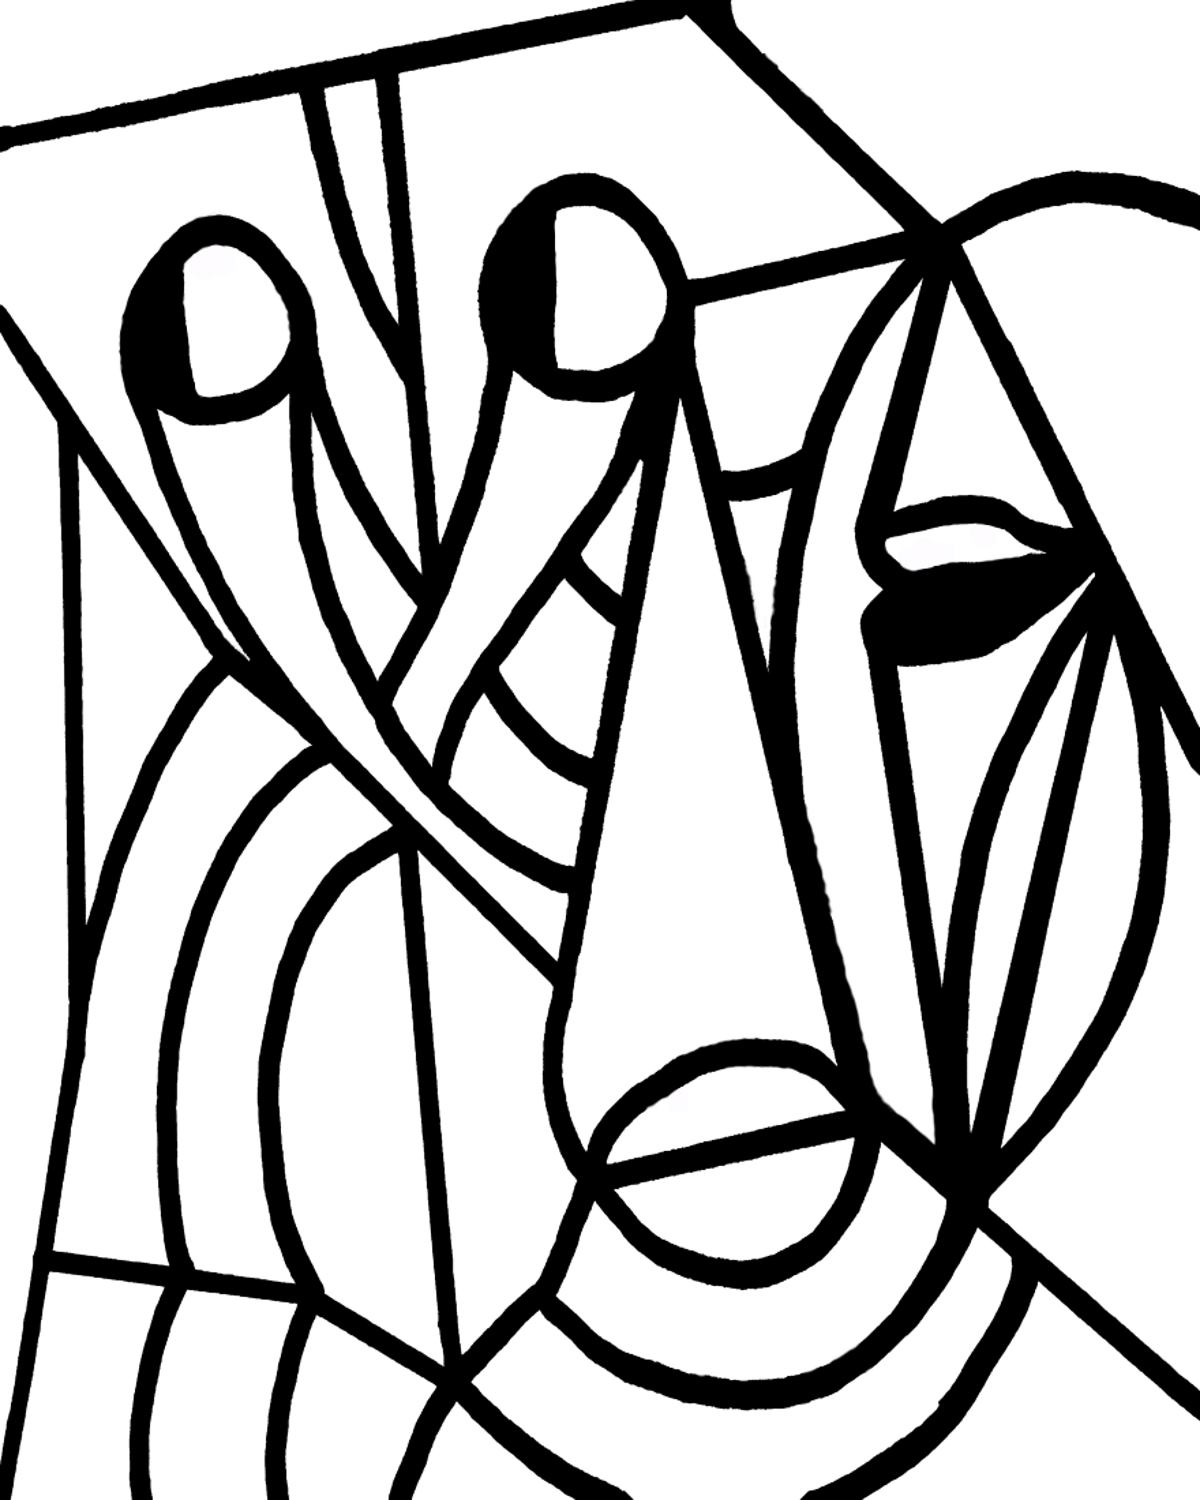
Computer Revised Drawing
- I took a photo of the original drawing and manipulated it with Paint.net.
- I decided to change the size completely making it a vertical print.
- I used the “Pour” feature to pour true black into the thick lines which formed the drawing.
- I used the “Pour tool to pour true white into the spaces.
- The paint brush tool allowed me to correct the drawing a bit by smoothing out the lines. Pixel by pixel.
- Since the screen is either open or closed, black and white form the pattern regardless of final colors.
- The image could be used as is, but seemed uninteresting.
Manipulating the Image
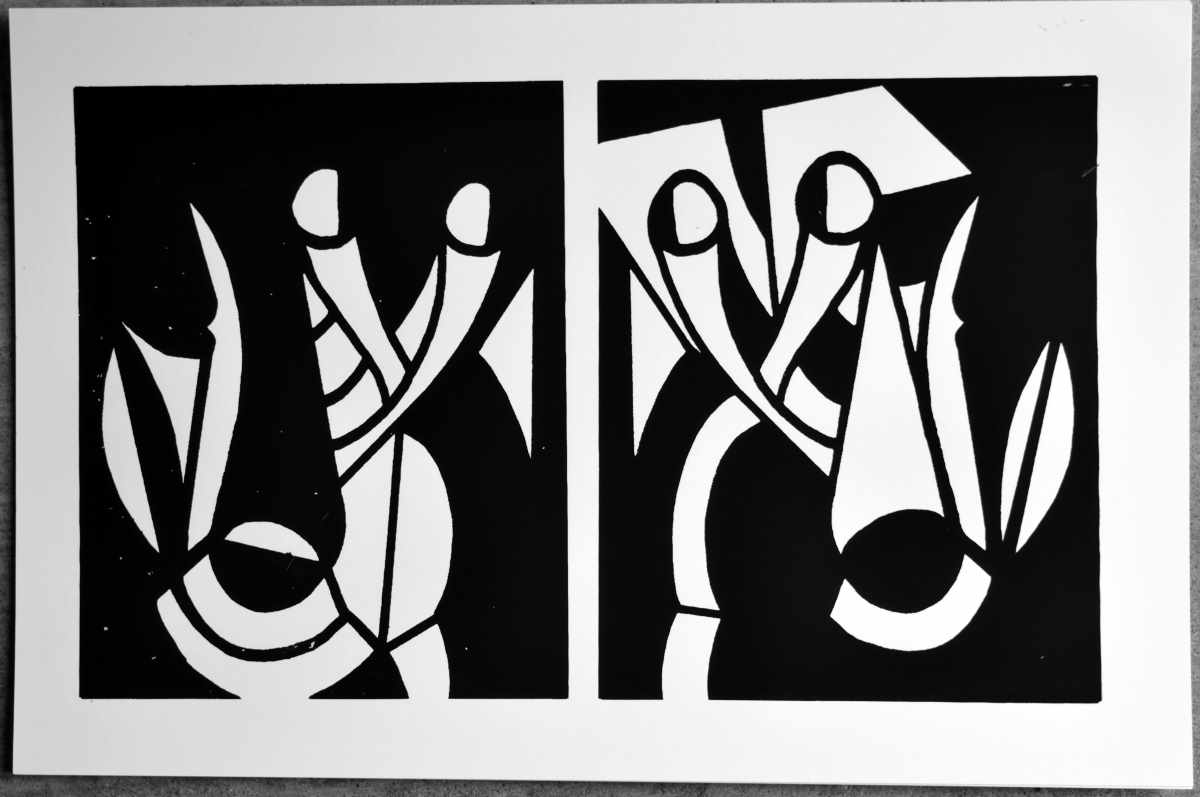
The medium is color but the tool is black and white. White blocks and black allows ink to mark the paper. Once the image is purely in black or white, it can be manipulated.
- It can be “Flipped” to produce a mirror image. In this case, I saw eyes so I flipped the image.
- Since it’s black or white, the “Pour Tool” can be used to erase whole areas and create multiple images. A key feature of this method is “Undo” (Ctrl Z)….Erase stuff and undo your way back!
- I created multiple images in this case and selected the two that didn’t make the “flip” obvious. This created some symmetry but not so much duplication.